My husband and I decided to try getting rid of TV/internet for a while. Our apartment complex has a business center (that has FREE lattes), and so we've been using their internet for the time being.
It may sound archaic, and it's definitely a little inconvenient, but the benefits we've seen make a case for not getting it back again anytime soon.
We may change our mind during football season, but for now it's looking good. We don't waste as much time on facebook, email, hulu, and watching pointless TV. We spend more time together, and we have to walk whenever we want to check our email, blog, or other things. Now, my husband does have a smart phone, so important weather or news updates we get that way (and he has access to his work emails). That may be what makes this a little more do-able. But in any case, I do like not having internet and TV at home. Being a housewife there is always huge temptation to spend time watching TV or wasting hours on the internet. Now I have to plan my internet time and that makes my work more efficient!
///
Okay, now onto the fun, crafty stuff:
Recently I made some pillows for our living room! We were so blessed to be given furniture when we got married! Though it didn't all match, and wasn't necessarily our style. So I thought I'd paint some pillows to help tie things together. I really loved this process and so I captured a few moments of the creating!
These are the fronts to the big blue ones:
In this photo you can see the reason for the big blue pillows! -- A big blue futon! :)
And now for the stuffing and sewing!:
I don't like limp pillows, so I stuffed them REALLY full!
I used a sewing machine for 3 sides, and the corners of the 4th side.
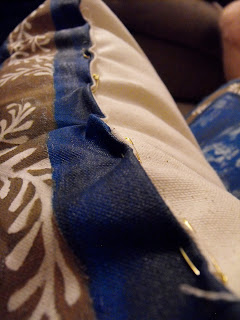
Used safety pins to hold the opening closed while I hand sewed the last bit.
And Viola!
And one of them all together!
I absolutely loved making pillows! I have them for sale right now on my shop, if you're interested in something like this.
Okay, that's all for now! Soon I'll have a fantastic bagel recipe for you, and pics. from our anniversary road trip! (Yep, this time we managed to bring out the camera every once in a while!)
Have a great Wenesday!


